Nginx安装配置及使用
安装配置
1. 下载Nginx
1 | wget http://nginx.org/download/nginx-1.8.1.tar.gz |
2. 解压并进入目录操作
1 | 1. tar zxvf nginx-1.8.1.tar.gz |
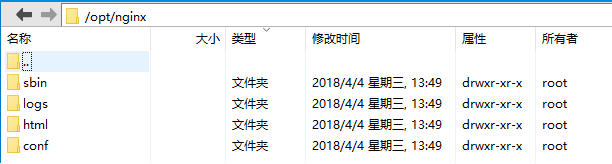
3. ngnix安装成功 /opt/ngnix
4. 验证nginx配置文件是否正确
1 | 进入nginx安装目录 |
5. nginx相关操作
1 | nginx启动 |
6. 反向代理
1 | 在nginx.conf里面添加 |
7. 负载均衡
1 | nginx.conf |
FAQ
1. ./configure 出错
1 | ./configure: error: the HTTP cache module requires md5 functions |
1 | 解决办法 |
2. nginx: [emerg] bind() to 0.0.0.0:80 failed (98: Address already in use)
1 | 出现这个错误,说明80端口被占用,杀掉这个进程: |

3. nginx启动成功后出现403 Forbidden

1 | 在nginx根目录下的/conf/nginx.conf文件第一行里面添加 |
4. [error] open() “/opt/nginx/logs/nginx.pid”
1 | [root@node104 nginx]# sbin/nginx -s reload |
解决办法:
1 | cd /opt/nginx |
5. ngnix在CentOS-6系统启动报错
5.1 报错1
1 | sbin/nginx: error while loading shared libraries: libpcre.so.1: cannot open shared object file: No such file or directory |
解决办法:
1 | cd /lib64 |

5.2 报错2
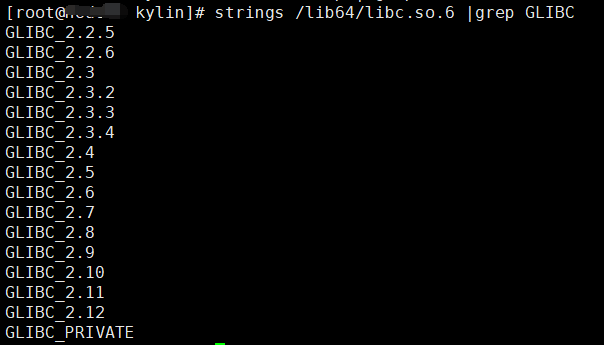
1 | sbin/nginx: /lib64/libc.so.6: version `GLIBC_2.14' not found (required by sbin/nginx) |
问题分析:
1 | 查看版本,发现仅支持到2.12 |
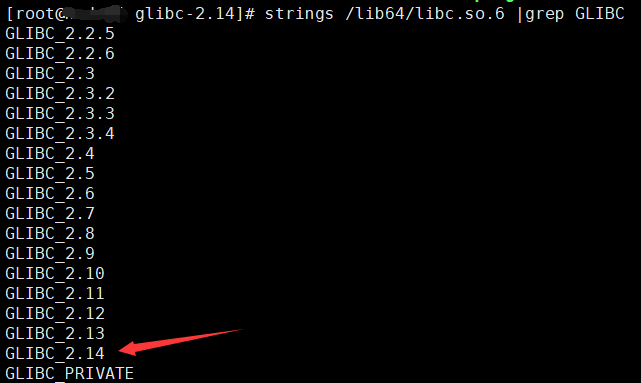
解决办法:
1 | cd /opt |

5.3 问题3:
升级glibc到2.14后,出现ssh登陆时出现:
-bash: warning: setlocale: LC_CTYPE: cannot change locale (en_US.UTF-8): No such file or directory
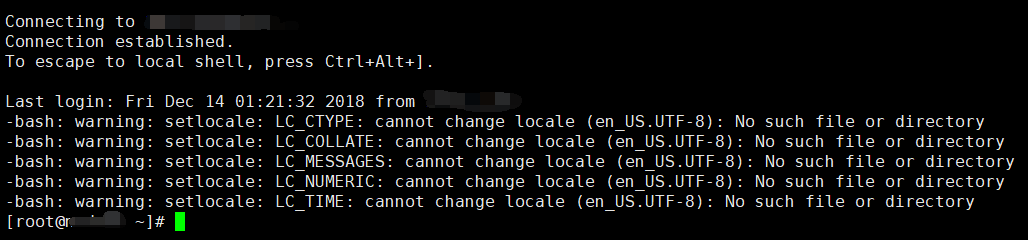
解决办法:
1 | cp -r /usr/lib/locale /opt/glibc-2.14/lib/ |
问题解决。
参考自:https://blog.csdn.net/guitar___/article/details/77651983#commentBox
5.4 报错4:
问题:执行date命令
1 | [root@xxxxx ~]# date |
问题分析:
就是升级libc.so.6导致的!
GNU中对TZ环境变量的说明中指出,如果TZ没有值,会默认选择时区,具体地址由libc.so.6这个库决定。在升级前,centos的默认时区文件为/etc/localtime。而我新编译的库时,设置了–prefix=/opt/glibc-2.14,导致默认路径为变成了/opt/glibc-2.14/etc/localtime,自然就找不到默认时区了。
解决方案:
1 | ln -sf /etc/localtime /usr/local/glibc-2.14/etc/localtime |
测试:
1 | [root@xxxxx ~]# date |
问题解决。
点关注,不迷路
好了各位,以上就是这篇文章的全部内容了,能看到这里的人呀,都是人才。
白嫖不好,创作不易。各位的支持和认可,就是我创作的最大动力,我们下篇文章见!
如果本篇博客有任何错误,请批评指教,不胜感激 !


原文作者: create17
原文链接: https://841809077.github.io/2018/05/21/Nginx/Nginx安装配置.html
版权声明: 转载请注明出处(码字不易,请保留作者署名及链接,谢谢配合!)

